![]()
Swapping out carpeted steps for wooden treads is a great way to enhance the value of your home and give your staircase a new look. While hiring a professional for this job can be costly, opting for a DIY approach can save you money if you’re comfortable using power tools and take your time to create a beautiful wooden staircase at a fraction of the cost of hiring a contractor.
Before starting, it’s important to understand key terms like tread, nosing, riser, stringer, and skirtboard. The process of redoing your steps will vary based on your starting point and desired outcome, so we’ll provide some general guidelines.
Preparing your staircase for refinishing
To begin, you need to prepare your steps. If you’re working on a utility staircase, it may involve sanding down rough spots and painting the skirtboard. Removing carpet from your stairs is a bit more involved – start by cutting the carpet into sections and pulling it up along with the pad, tack strips, and staples. If your existing treads have a nose, cut it off so it doesn’t extend past the riser. Sand the steps, hammer down protruding nails, and prime and paint the skirt board. Safety gear like a mask, eye protection, and gloves are essential.
Once your staircase is prepped, you can proceed with laying down new treads. While this is a relatively simple remodel, it’s wise to check local building codes beforehand to ensure safety and maintain resale value. Keeping distances uniform is crucial for stairs to prevent tripping hazards.
Measuring and cutting wood for treads and risers
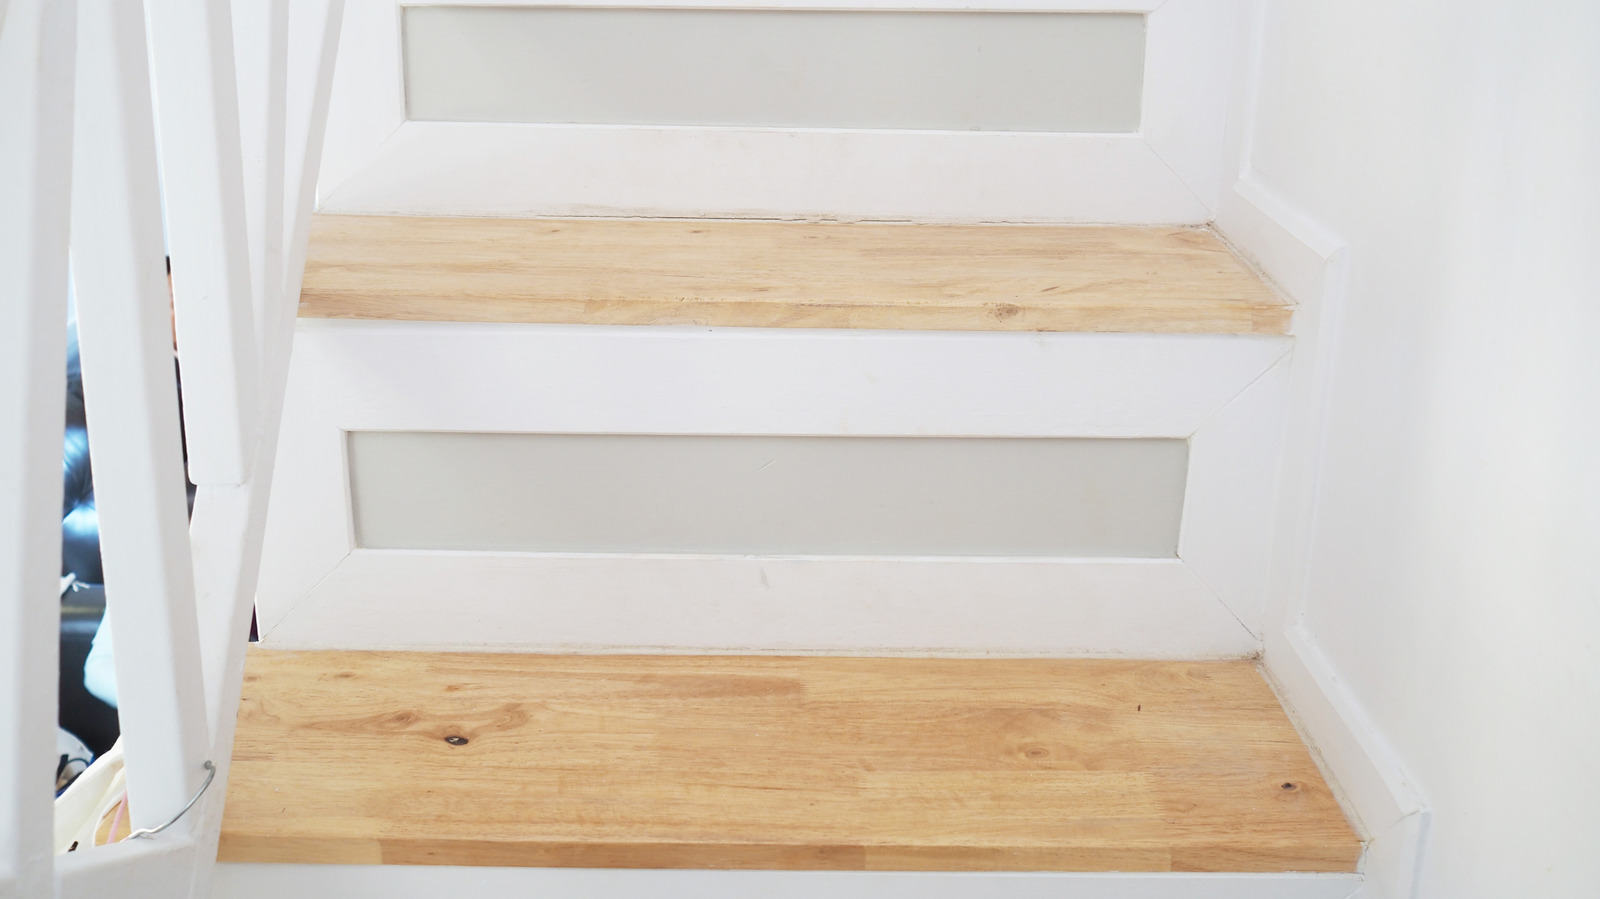
Work on one step at a time, starting with installing the risers. Trim them if necessary, apply construction adhesive, and nail the tread in place along the edges using a brad nailer. If you want to save money by making your own treads from plywood, make sure to use a hard plywood like oak for durability. Cut the plywood and hardboard to fit your risers and treads, ensuring a smooth transition between the two.
Finishing your stairs
Add the nosing to your treads for a stylish look and safety. You can buy finished nosing or make your own by cutting strips from hardwood and attaching them to the front edge of each tread. Sand the treads, caulk around each step, and finish by painting or staining and applying polyurethane for protection.
Tips and tricks to make retreading your steps easier
To streamline the process, batch the work by measuring, cutting, and finishing multiple steps at once. Number your steps and treads/risers to avoid confusion. For main staircases that were originally designed to be seen, you may not need to retread at all if the existing staircase is finished. Utilize existing risers if possible to save time and money and give your stairs a design upgrade.


