![]()
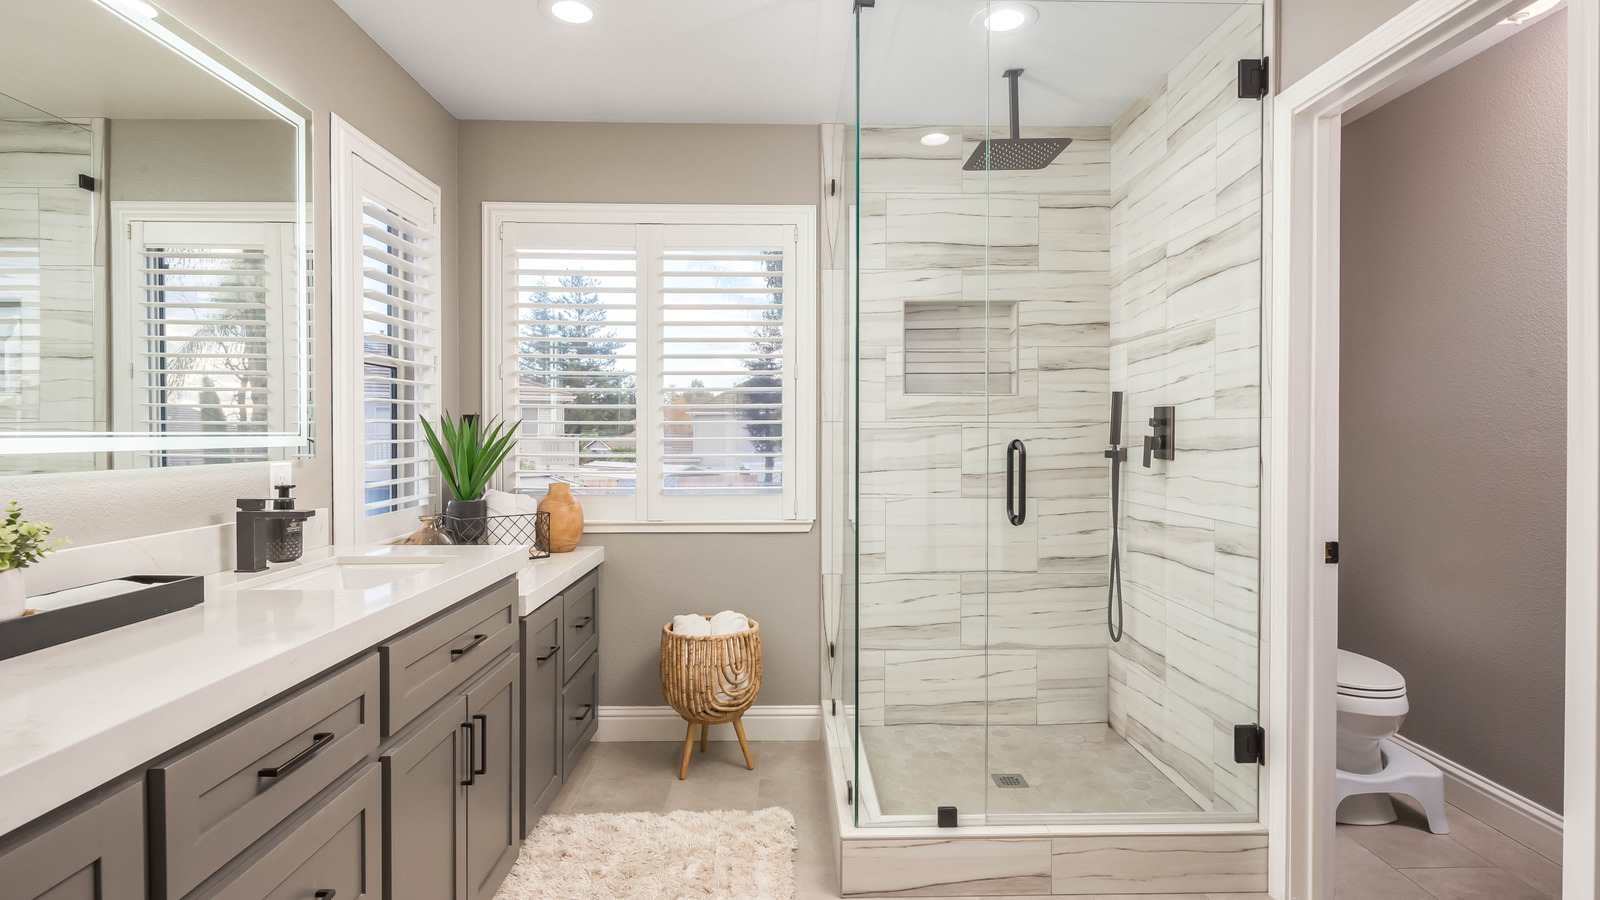
Soap scum, hard water, and mineral deposits can transform your shower from a shining fixture into a dirty mess. One crucial yet often overlooked component is the bottom door seal or bumper. This bathroom accessory acts as a barrier, preventing water from splashing onto the floor. While cleaning your door seal can help maintain its condition, many homeowners neglect this area in the shower. Sometimes, it’s necessary to replace it, especially when it’s worn out or has reached the end of its lifespan. Glass installation experts advise replacing your shower door bumper every six to 24 months. Additionally, you should replace the seal if you notice visible damage or discoloration.
Shower door seals come in various materials, including rubber, vinyl, PVC, silicone, or polycarbonate plastic. Regardless of the material, they endure wear and tear due to frequent use when opening and closing your shower door. The use of harsh cleaning products and the growth of mold or mildew can also weaken the seal, leading to its deterioration. It’s important to inspect the bumper for damage monthly and during your regular shower cleaning routine.
When to replace rather than clean the shower bumper
As you clean or inspect your shower seal for wear, test the material to see if it’s brittle. Look for any holes or cracks, or declines in performance. If you frequently find water puddles on the floor, experience leaks, or can’t fully close your shower door, these signs suggest it’s time to replace the seal. Ignoring these issues can worsen the problem and compromise your bathroom’s safety and health. A faulty seal not only risks water damage but also creates a slipping hazard and increases the likelihood of mold or mildew growth.
Fungal presence can make tile floors slippery and may cause serious health issues, including skin and eye irritation, allergic reactions, and breathing difficulties. Aside from practical reasons, you might want to replace your door bumper for aesthetic purposes, as an old seal can detract from a modern shower’s sleek appearance. Regardless of the reason for replacement, you don’t need a professional for this task, as it’s an easy DIY project that you can complete in about an hour.
How to replace the shower door seal
To replace your shower door seal, begin by removing the old bumper, gently pulling it by hand or using a tool like pliers. Be cautious not to scrape the glass during this process. For stubborn seals, use a hair dryer to loosen the material before removing it. To find the right size bumper, first measure the width of the shower door and then the glass thickness. Many companies sell replacement shower door seals, but ensure you purchase one with a compatible thickness for a perfect fit. For instance, the Prime-line M6258 Frameless Shower Seal is designed for 3/8-inch thick glass and may not suit your needs. If there is a significant gap between your shower door’s bottom and the floor, measure this space as well. Note these measurements to ensure you purchase a bumper with a large enough sweeper to keep water from flowing out of the shower.
Once you remove the old seal, prepare the surface for the new bumper. Use a glass cleaner and a soft cloth to carefully clean away any remaining adhesive, then wipe clean. Measure the new seal against the door’s length and cut to size if necessary. Insert the seal on the door with the deflector or lip facing inward, and press to adhere. Test the fit by opening and closing your door, trimming the seal if needed.


